在 vscode 配置 ruby 开发环境
前言
常在河边走,哪有不湿鞋 –鲁迅
作为多年使用 JetBrains 盗版软件的不法用户,昨日终于被逮到了,经历各种再破解尝试,均告失败。
只好转战最近广受好评的 vscode,准备接下来试试能不能作为主力开发工具。
本篇记录如何在 vscode 配置开发 ruby 环境
安装 vscode
vscode 的安装就不赘述了,在官网直接下载,傻瓜式安装就 ok 了。
配置 vscode
安装配置扩展 ruby
这个扩展名称就叫 ruby(作者吕鹏,vscode官方开发人员),在 vscode 应用商店中直接搜索安装就好
在 vscode 配置文件
settings.json中添加如下"ruby.useBundler": true, "ruby.lint": { "rubocop": { "useBundler": true }, }, "ruby.format": "rubocop",
安装配置扩展 Ruby Solargraph
在 vscode 应用商店搜索安装
在
settings.json中添加"solargraph.useBundler": true, "solargraph.references": true, "solargraph.autoformat": true, "solargraph.formatting": true,
配置运行环境
在项目目录下新建 .vscode/launch.js
{
  "version": "0.2.0",
  "configurations": [
    {
      "name": "Rails server",
      "type": "Ruby",
      "request": "launch",
      "program": "${workspaceRoot}/bin/rails",
      "args": [
        "server"
      ],
      "env": {
        "PATH": "xxxx",
        "GEM_HOME": "xxx",
        "GEM_PATH": "xxx",
        "RUBY_VERSION": "xxx"
      }
    }
  ]
}
env 详细内容请在 shell 使用下列命令输出
printf "\n\"env\": {\n \"PATH\": \"$PATH\",\n \"GEM_HOME\": \"$GEM_HOME\",\n \"GEM_PATH\": \"$GEM_PATH\",\n \"RUBY_VERSION\": \"$RUBY_VERSION\"\n}\n\n"安装 gem
gem install ruby-debug-ide
gem install debase
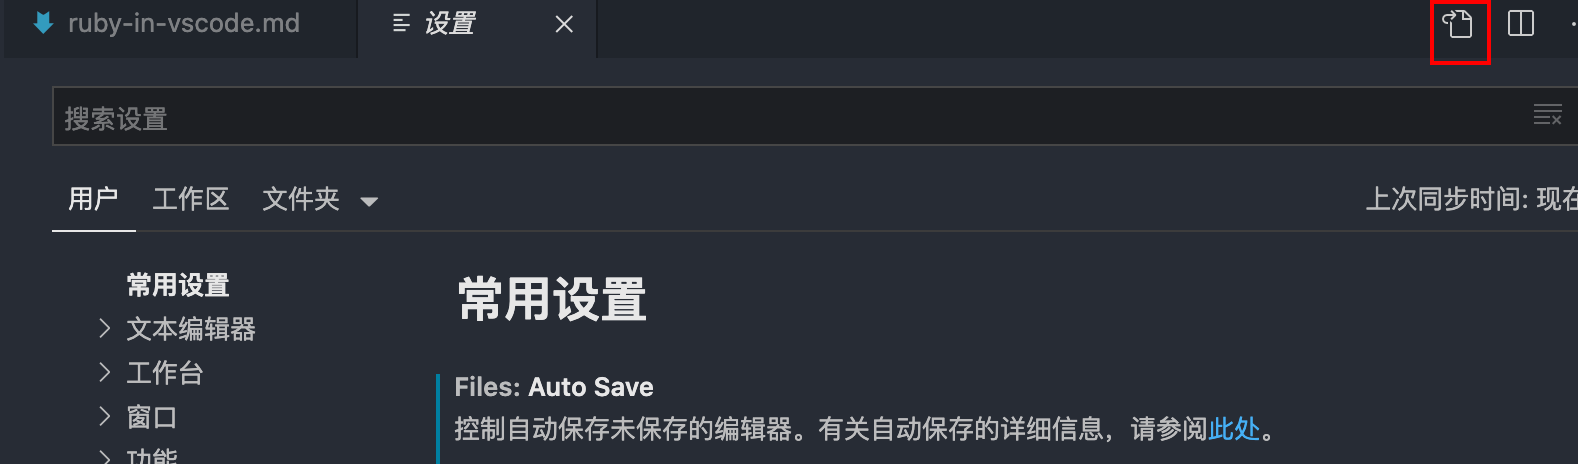
gem install solargraph如何打开 settings.json